Slinkachu is a perspective photographer who works with model train sets painting and remodeling them to create perspective photographs. what he does is a mixture of street art, illistration, sculpting and photography. His work, its scenes and there titles aim to show the loneliness and meloncholy of living in the big city, but he does also have some humorous work along side this.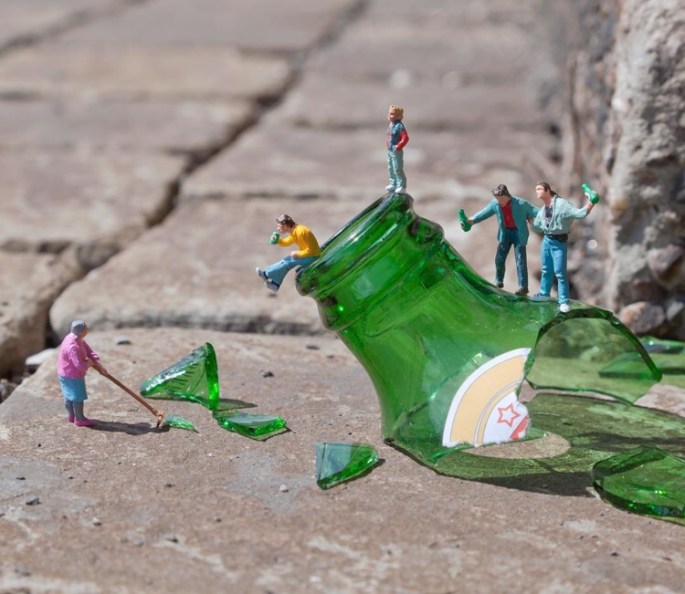
Author: anyasphotography23
studying level 2 photography at Lincoln college.
lego men
At the start of the week we got our lego men and started to come up with ideas for photoshoots with them.
I got a muskatier lego man and came up with a few ideas:
- In a gun fight
- sword fighting
- slaying a beast
- riding a horse
- adventuring/traveling
For our first photoshoot on Monday my lego man will be adventuring through different kinds of giant worlds, he will start in a mysterious jungle and venture through to many other places such as deserts, oceans and even swamps.
To create theese different photographs i will have to bring to college my camera and lego man obviously. I will need to bring in some sand for the dessert photo and some different animal toys for the different scenarios i will be putting my lego man in.
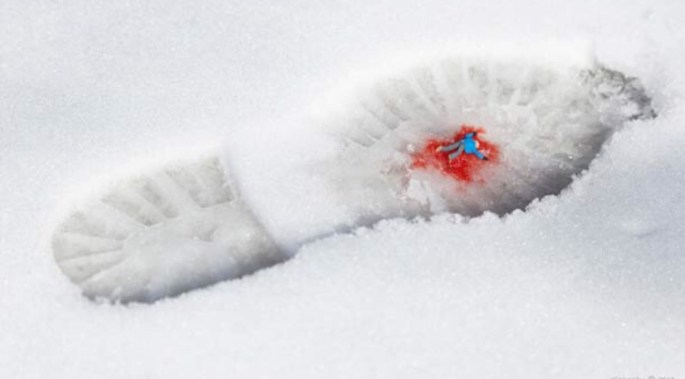
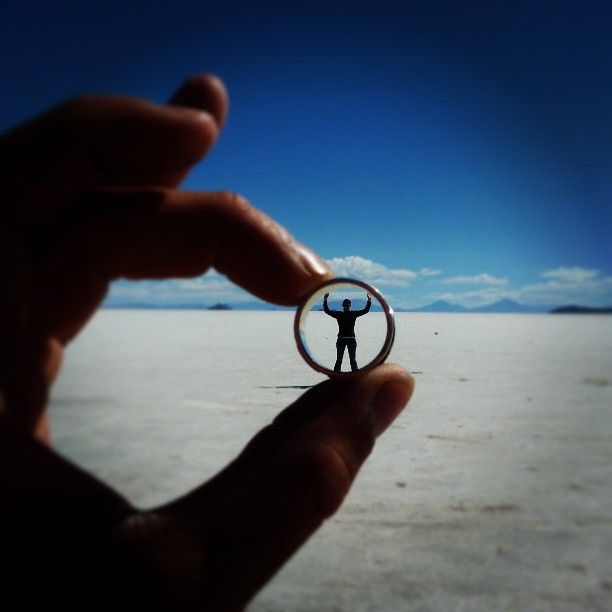
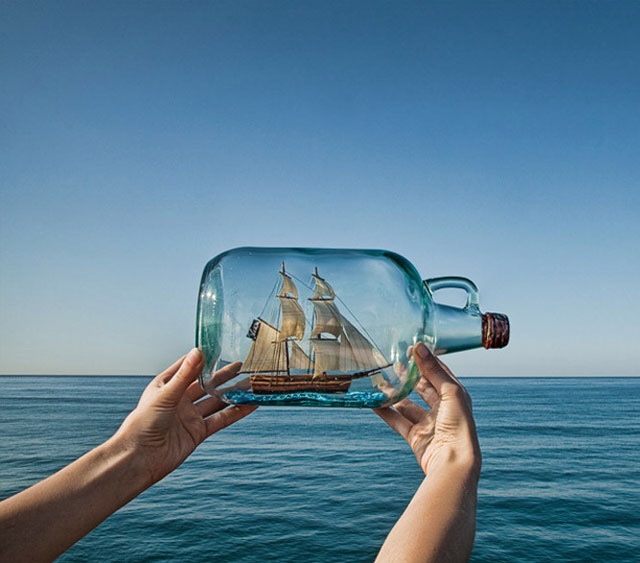
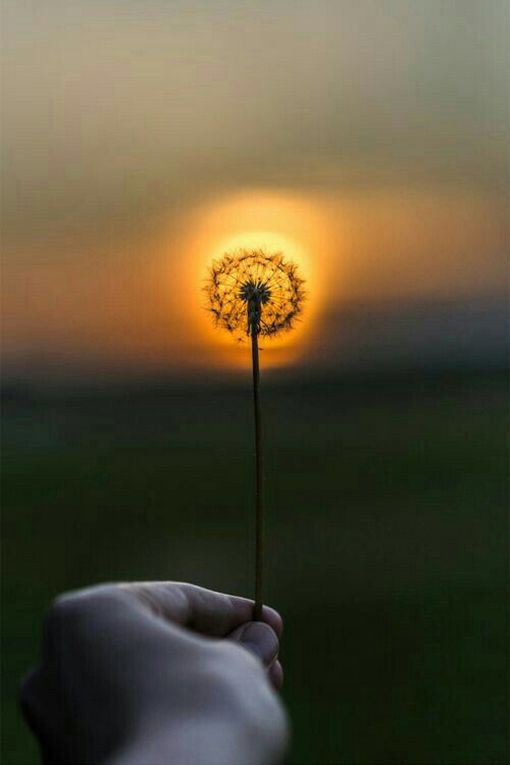
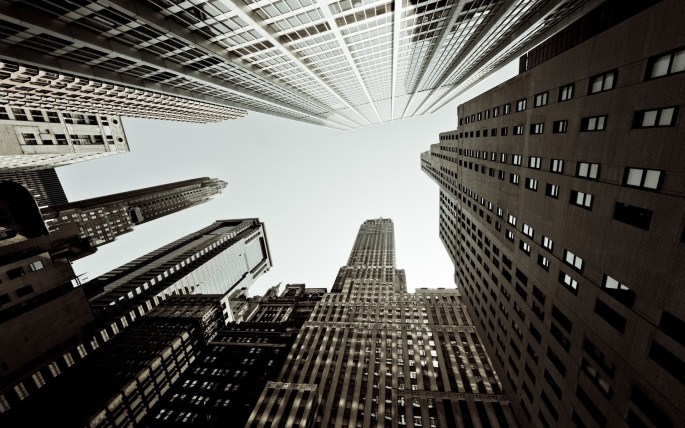
perspective photography
throughout this project we are going to be focusing on perspective. This is presenting three dimensional objects on a two dimensional surface. It also shows how the closer you have an object to the camera lense the bigger it looks, and as you move it further away it will get smaller. drawing towards a single vanishing point on the horizon line.
Forced perspective however is different, more like a photographic illusion. Two or more objects could all be the same size in real life but on the photograph they could all look completely different sizes. Enlarge, extend and transform objects.
We are going to be using lego men and taking photos of them so that they look either big in a little world, or little in a big world.
To make our lego men look big in a little world we would start by posistioning the lego man in front of the camera lense while the objects we want to look smaller would be in the background.
Halloween fashion shoot
During Halloween ( October 31st) our course group got dressed up and came together to do a photo shoot, everyone of us took let in different roles. We all had the chance to be the photographers, the audience and models. It was all great fun but a lot more difficult then expected.
Being the audience was the easiest part of the job we just sat and cheered on our peers.
And being a model was quiet nerve racking but also really fun to do different funny/scary poses in our costumes.
Our main focus was being the photographer a group of six would stand at the end of the run way with cameras and find a spot to stay in, we could move but very little. We started by getting our cameras to the right setting so that our photographs looked good with out a flash on. We then proceeded to just start taking out photographs as many and as unique as possible.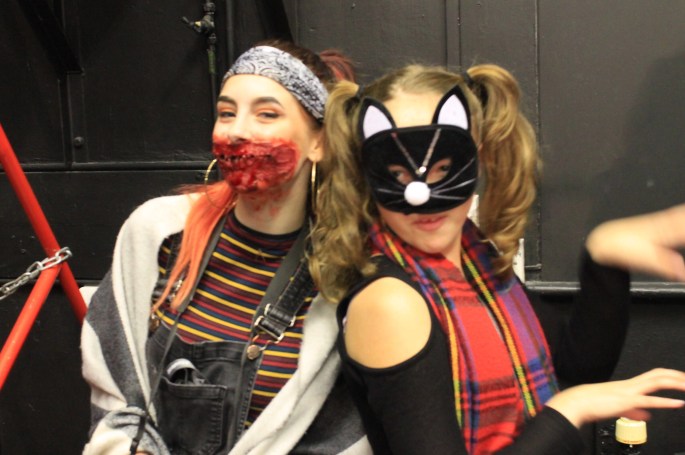
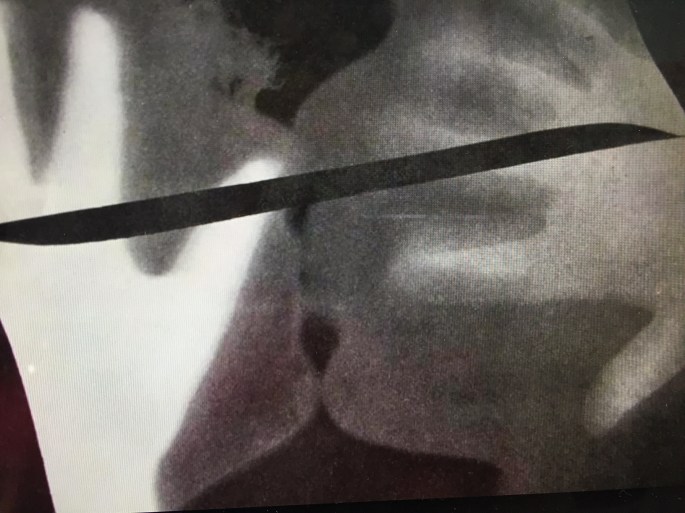
Man Ray
Man Ray started as an abstract painter in America during 1910 until he then moved to paris in 1920. During the 1940s when he crossed the Atlantic again spending periods in New York and Hollywood where he successfully navigated the worlds of commercial and fine art, and came to be a fashion photographer.
His photography as often operated between art and life. his work normally never had a life outside of the photograph it was like documenting. His work was influenced by Marcel Duchamp, Man Rays work was very important for popularizing surrealism.
This is one of Man Rays early (rayograms) during 1922 called ‘The kiss’.
Rayograms gave him the opportunity to be in direct contact with his work and react to his creations emmediatly by adding one layer upon the next.
Justin Quinnell
Justin Quinnell has been promoting pinhole photography for now over twenty years. He regularly does lectures about it in the UK and abroad. He even worked as a pinhole consultant for a film (The brothers bloom) which his cameras are featured in.
He was head of a photography department in Bristol where the kids didnt get cameras so he got them to make there own and after that he was hooked on pinhole photography.
this is Justins favourite photo of his own work as it was one of his first colour pinhole pictures back in 1991 when it took four days for film to develop.

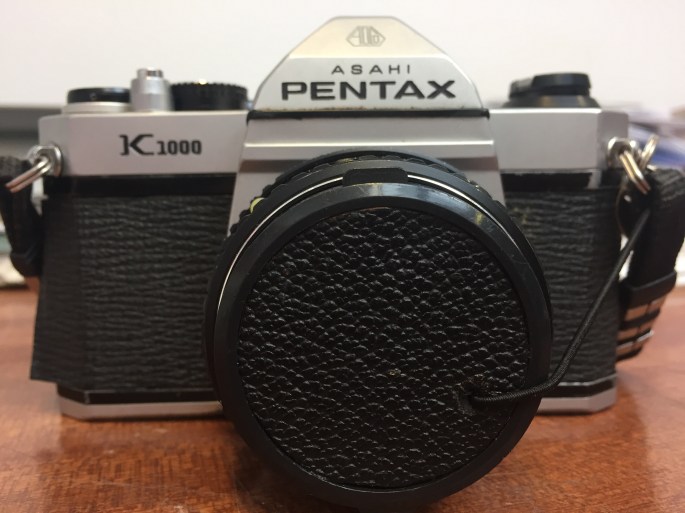
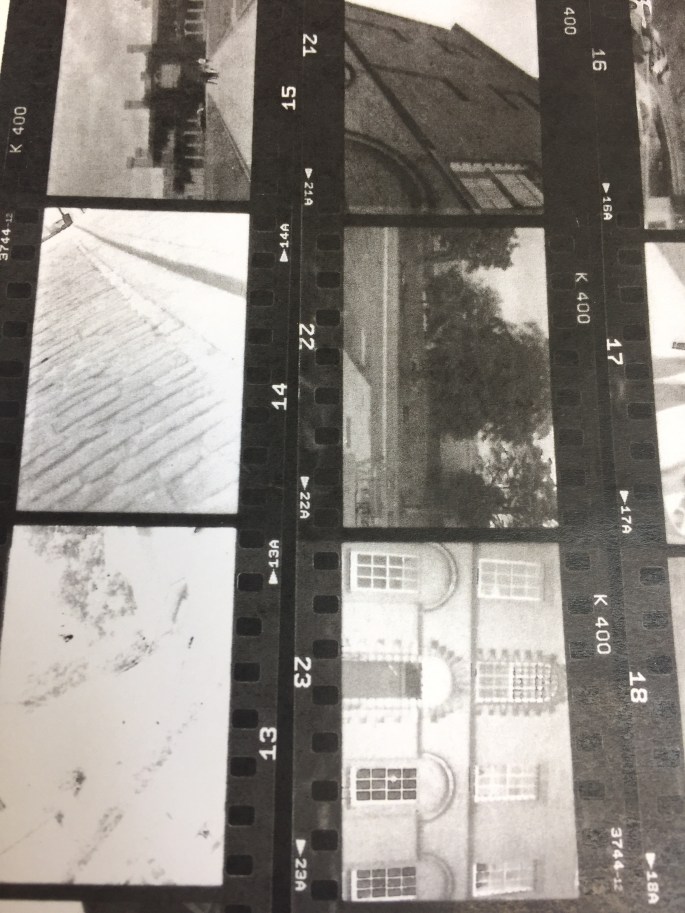
Pentax camera
We started by learning the basics such as changing the shutter speed and apperture. To change apperture you turn the dial which is closest to the body of the camera. And to change the shutter speed you turn the second dial on the top left of the camera.
we then learnt how to put film in the camera. on the top left of the camera you pull the silver rod out of the black dial and then pull it up untill the back of the camera pops open. Next you place the film on the left side of the camera in the back. you then thread the end of your film into the right side of the camera and twist the silver leather untill the film stays. you then close the back of the camera and your ready to go. After every photo you take you must pull the black leather back untill it stops so that you are ready to take the next photo.
A pentax camera is not digital and in my experience it was not fun to use but is was nice to try somethings new and im happy with the images we got.
Here’s a few of them at the bottom.
Dark room printing
First put your film into the negative holder. You must then adjust your photo so that it is clear and the right size. To do a test strip start by covering more than half of the light sensitive paper with something thick like cardboard. Expose to light for 2 seconds. Keep repeating this each time uncovering the photo a little more untill the paper is fully exsposed then develop it. Before you start your actual print you can see which time is best to exspose the paper for our group chose to exspose it for 5 seconds. For your real print you dont need the cardboard you exspose it fully for the time chosen then start the developing process.
Where the leaves are on this photo it has a rough texture and very high contrast but the rest, especially where the sky and grass is very smooth and bright
 . This was a succsessfull project.
Cyanotypes
This is a photographic printing process that produces cyan blue prints. Engineers started to use this process well into the 20th century to create blue prints. They are made up of two simple chemicals which are blended together equally these are, Ferric ammonium citrate and potassium ferriccyanide. The chemicals are put onto the paper and left to dry. Then put your object (leaf) onto the UV light and put the paper on top with the chemical side facing down, then close the light. Put the latches down on the sides and twist the blue knob to release the air and then switch 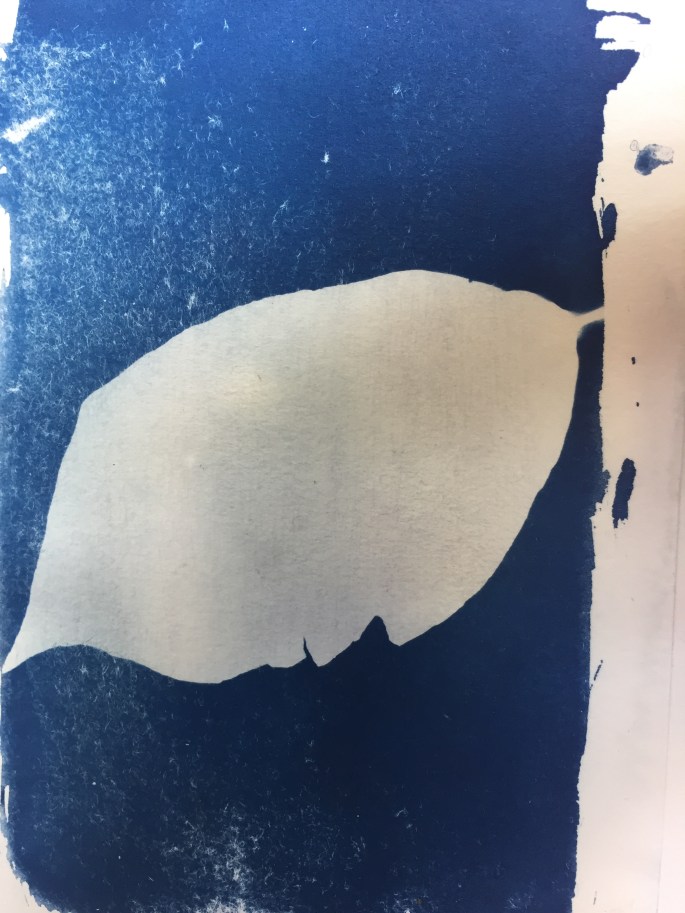 the UV light on for two minuets. Finally rinse the chemicals off and leave it to dry.
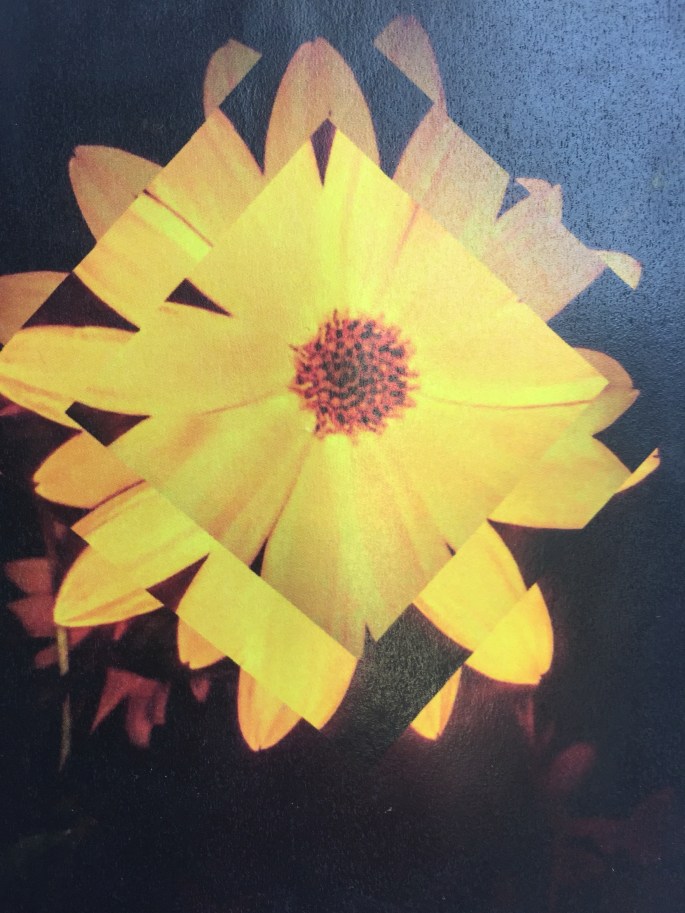
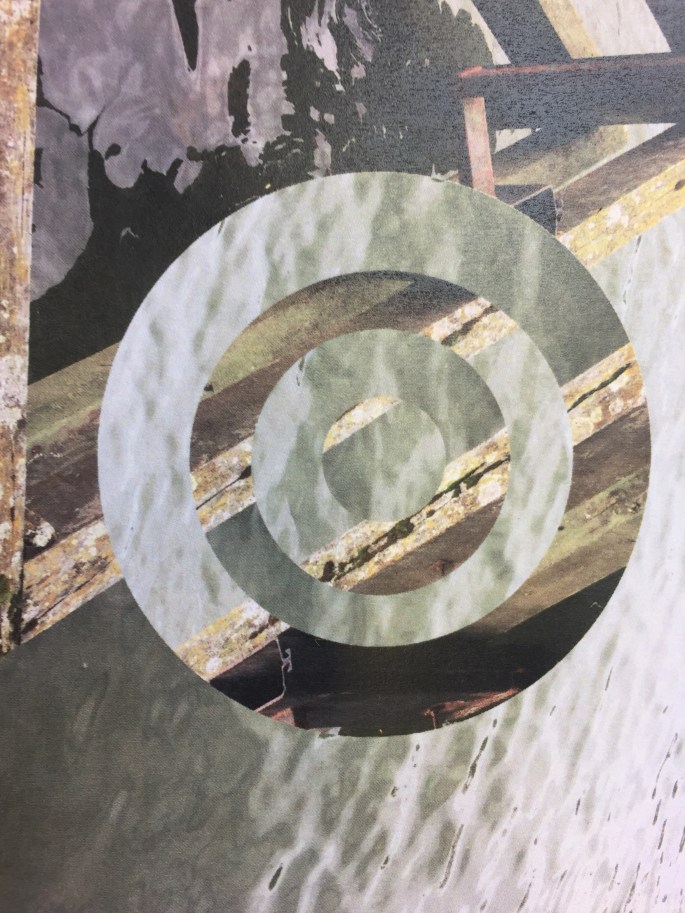
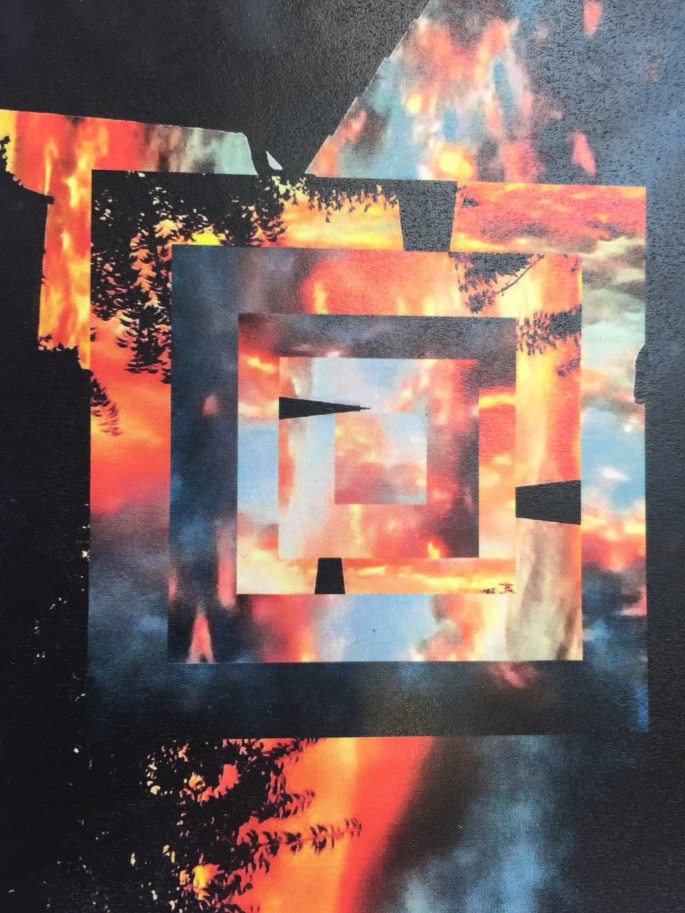
Simple geometric image distortion editing
To edit these images I used Adobe photoshop. Start by uploading your image to photoshop and then duplicate the layer. Then select the marquee tool and hold down the command key whilst you select the shape you want to use. If you want a square then select a rectangle and hold down the shift key as you are drawing the shape. when you are happy with the shape press enter, then go to edit click on free transform to rotate your image however you want to. You can repeat this as many times as you want making it smaller each time and giving it a different rotation.